The primary function of stainless steel netting is safety and protection. However, the elegance of this product has meant that it has multiple uses:
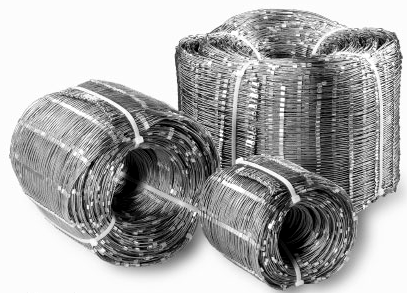
Our nets are ONLY made to measure, using (Aisi316)marine grade stainless steel wire, delivered “ready to fit”.
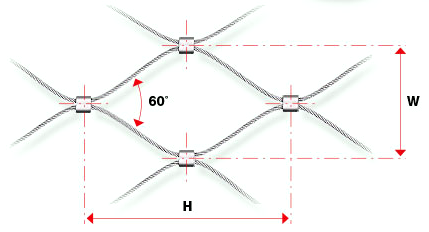
You can choose the size of the diamond-shaped mesh (W x H) and the diameter of the wire:
Everyone can install it: no particular technicality or complex tools are required, and what’s more, the visual appearance is exceptional!
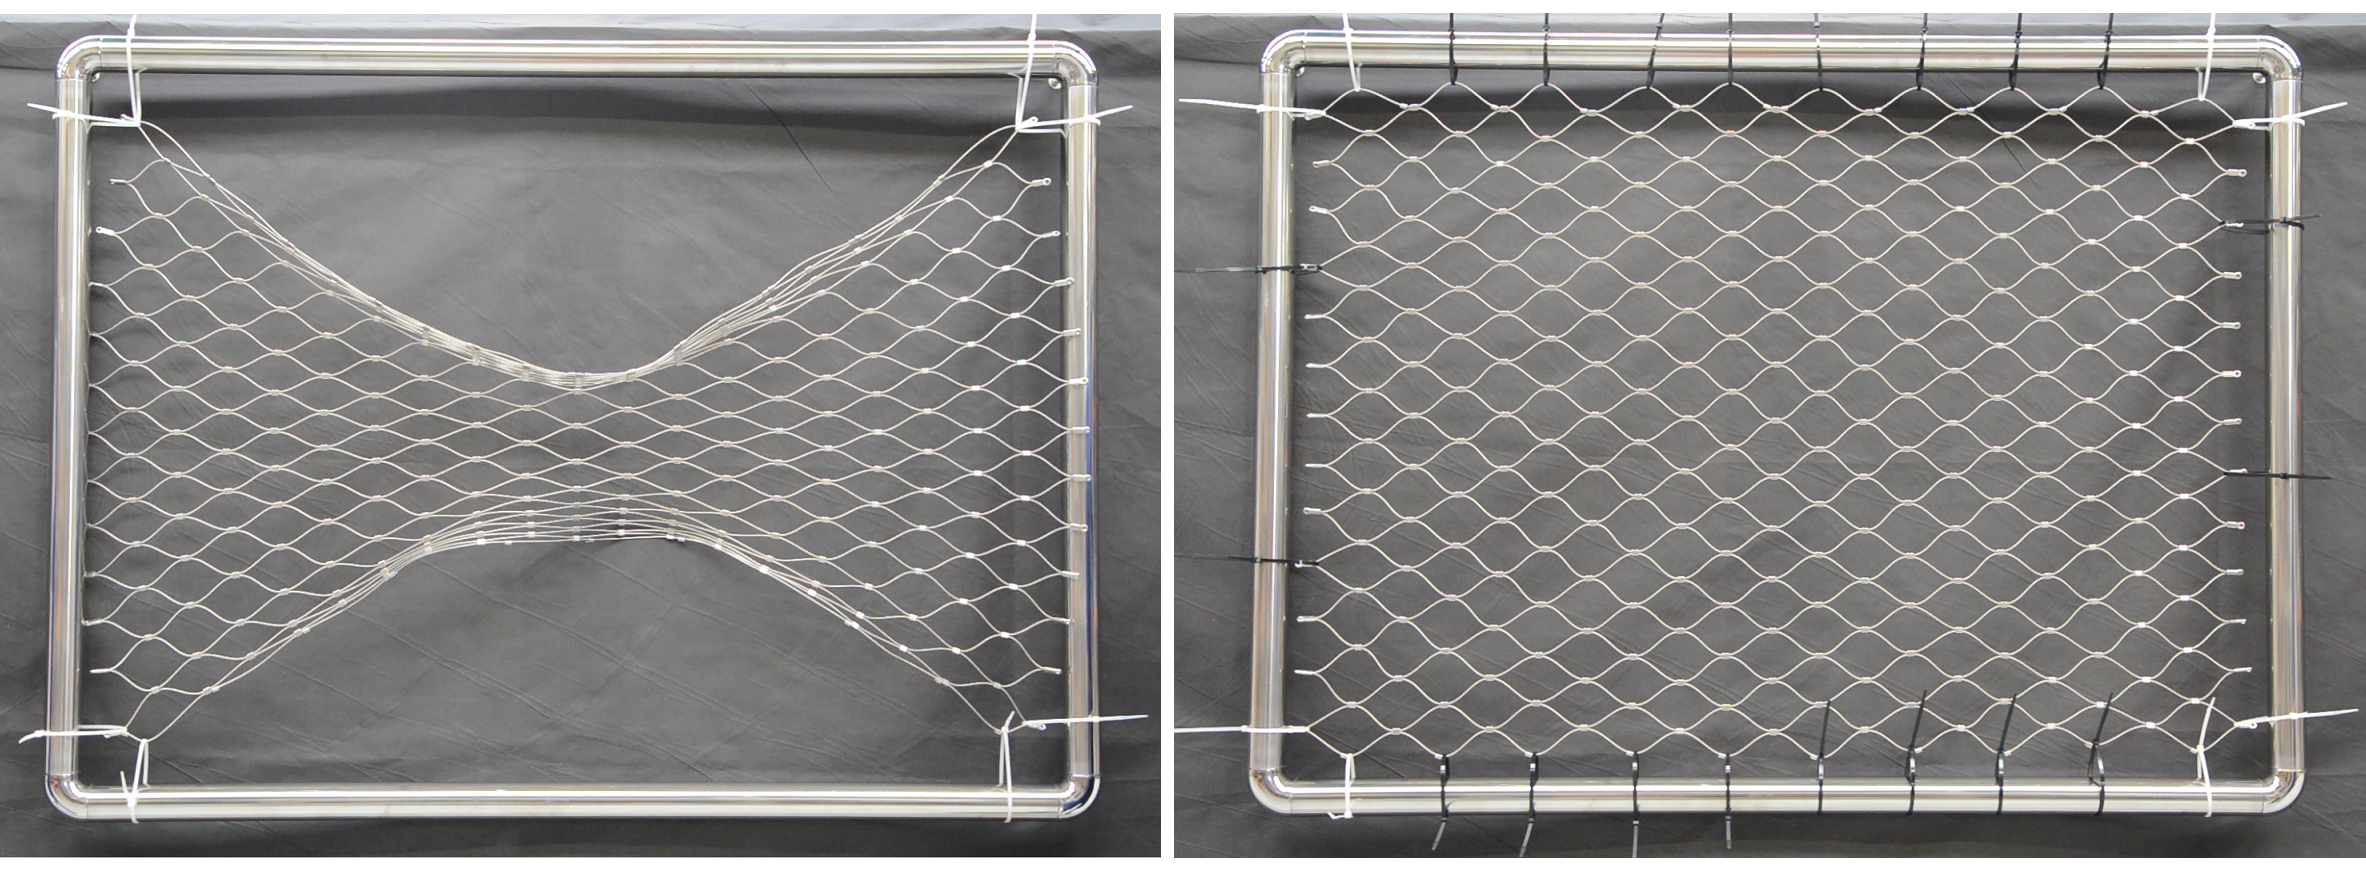
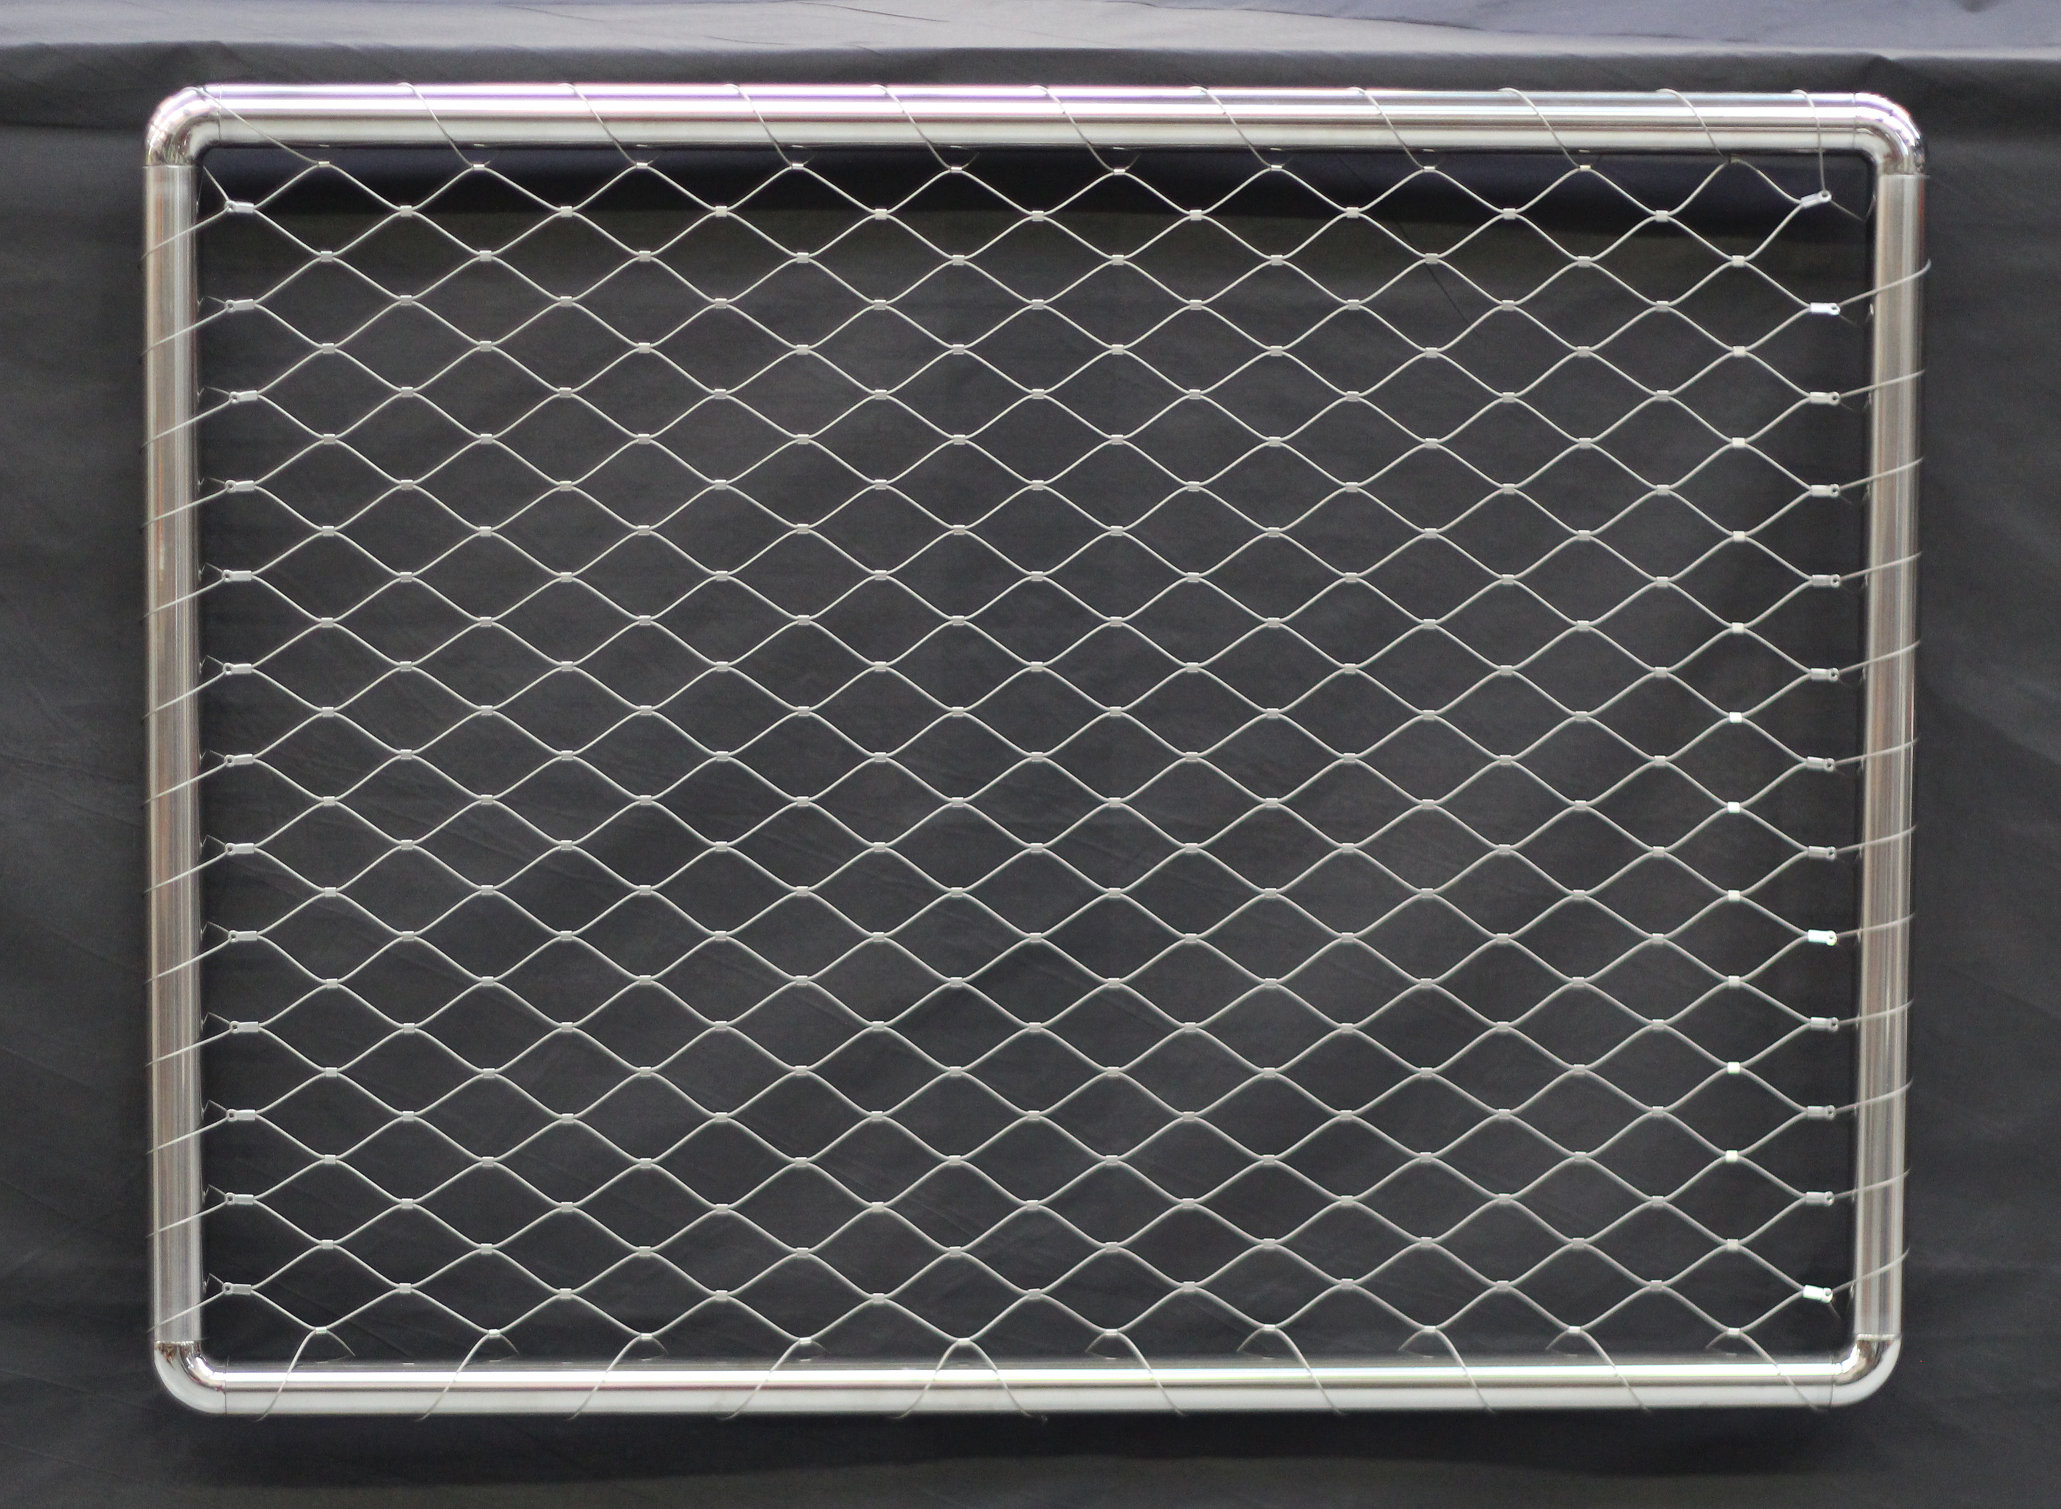
You MUST start by attaching 2 ties in each corner, as shown in the picture, then attach them along the edges.
First attach the RILSAN ties without tightening them;
Once you are happy with the position of your netting, you can gradually stretch it.
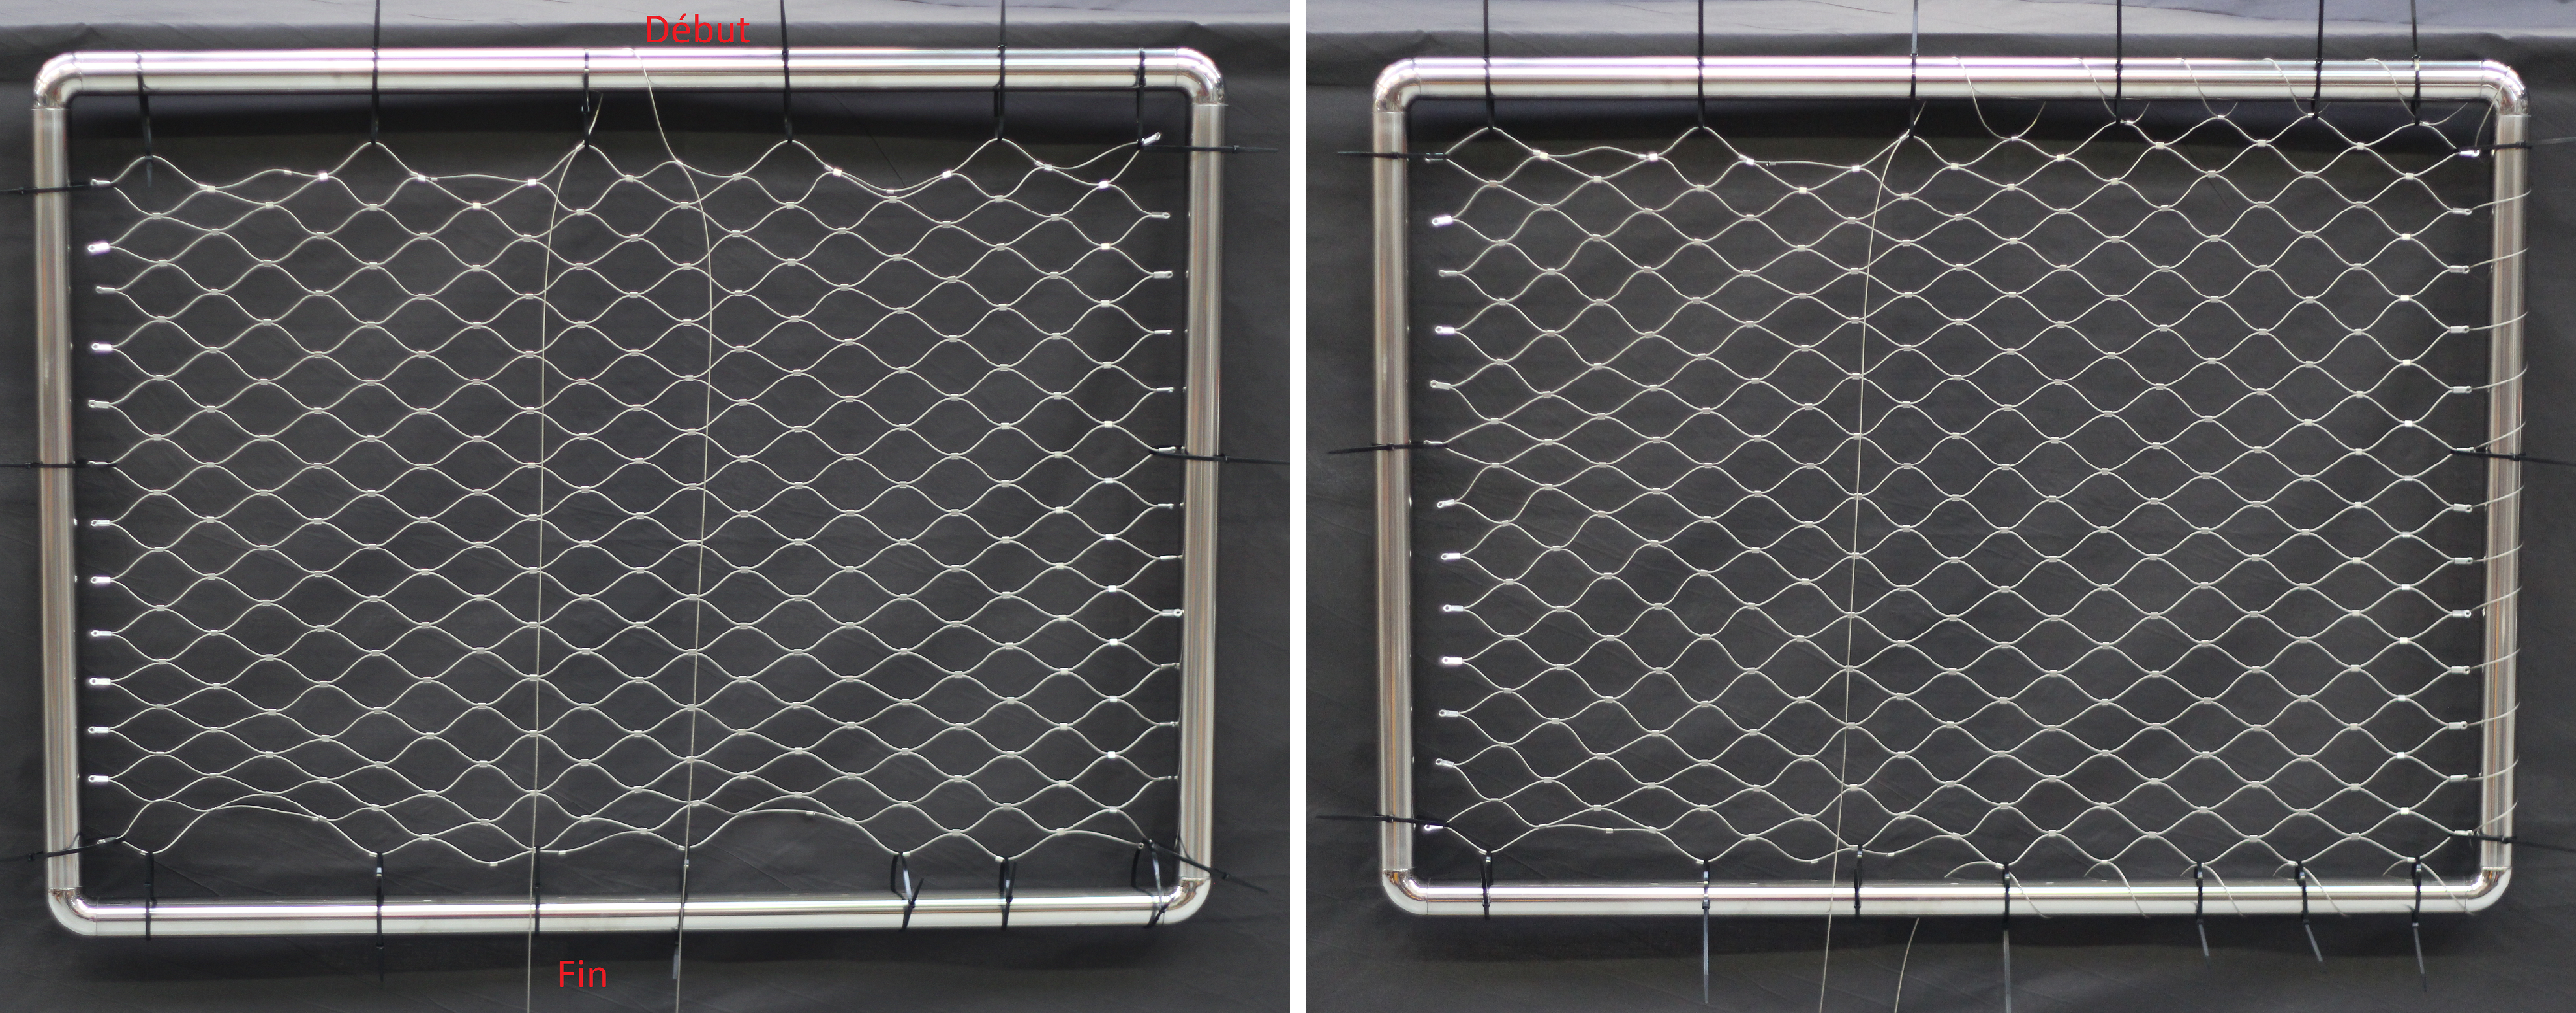
Start with the top centre of the netting and finish with the bottom section (towards the centre of the netting). Weave the wire round the frame (attach the wire through the loop on one side, then go round to the other side and pass the wire back through the next loop, etc.). Then tighten the wire.
Close-up of attaching the wire round a corner:
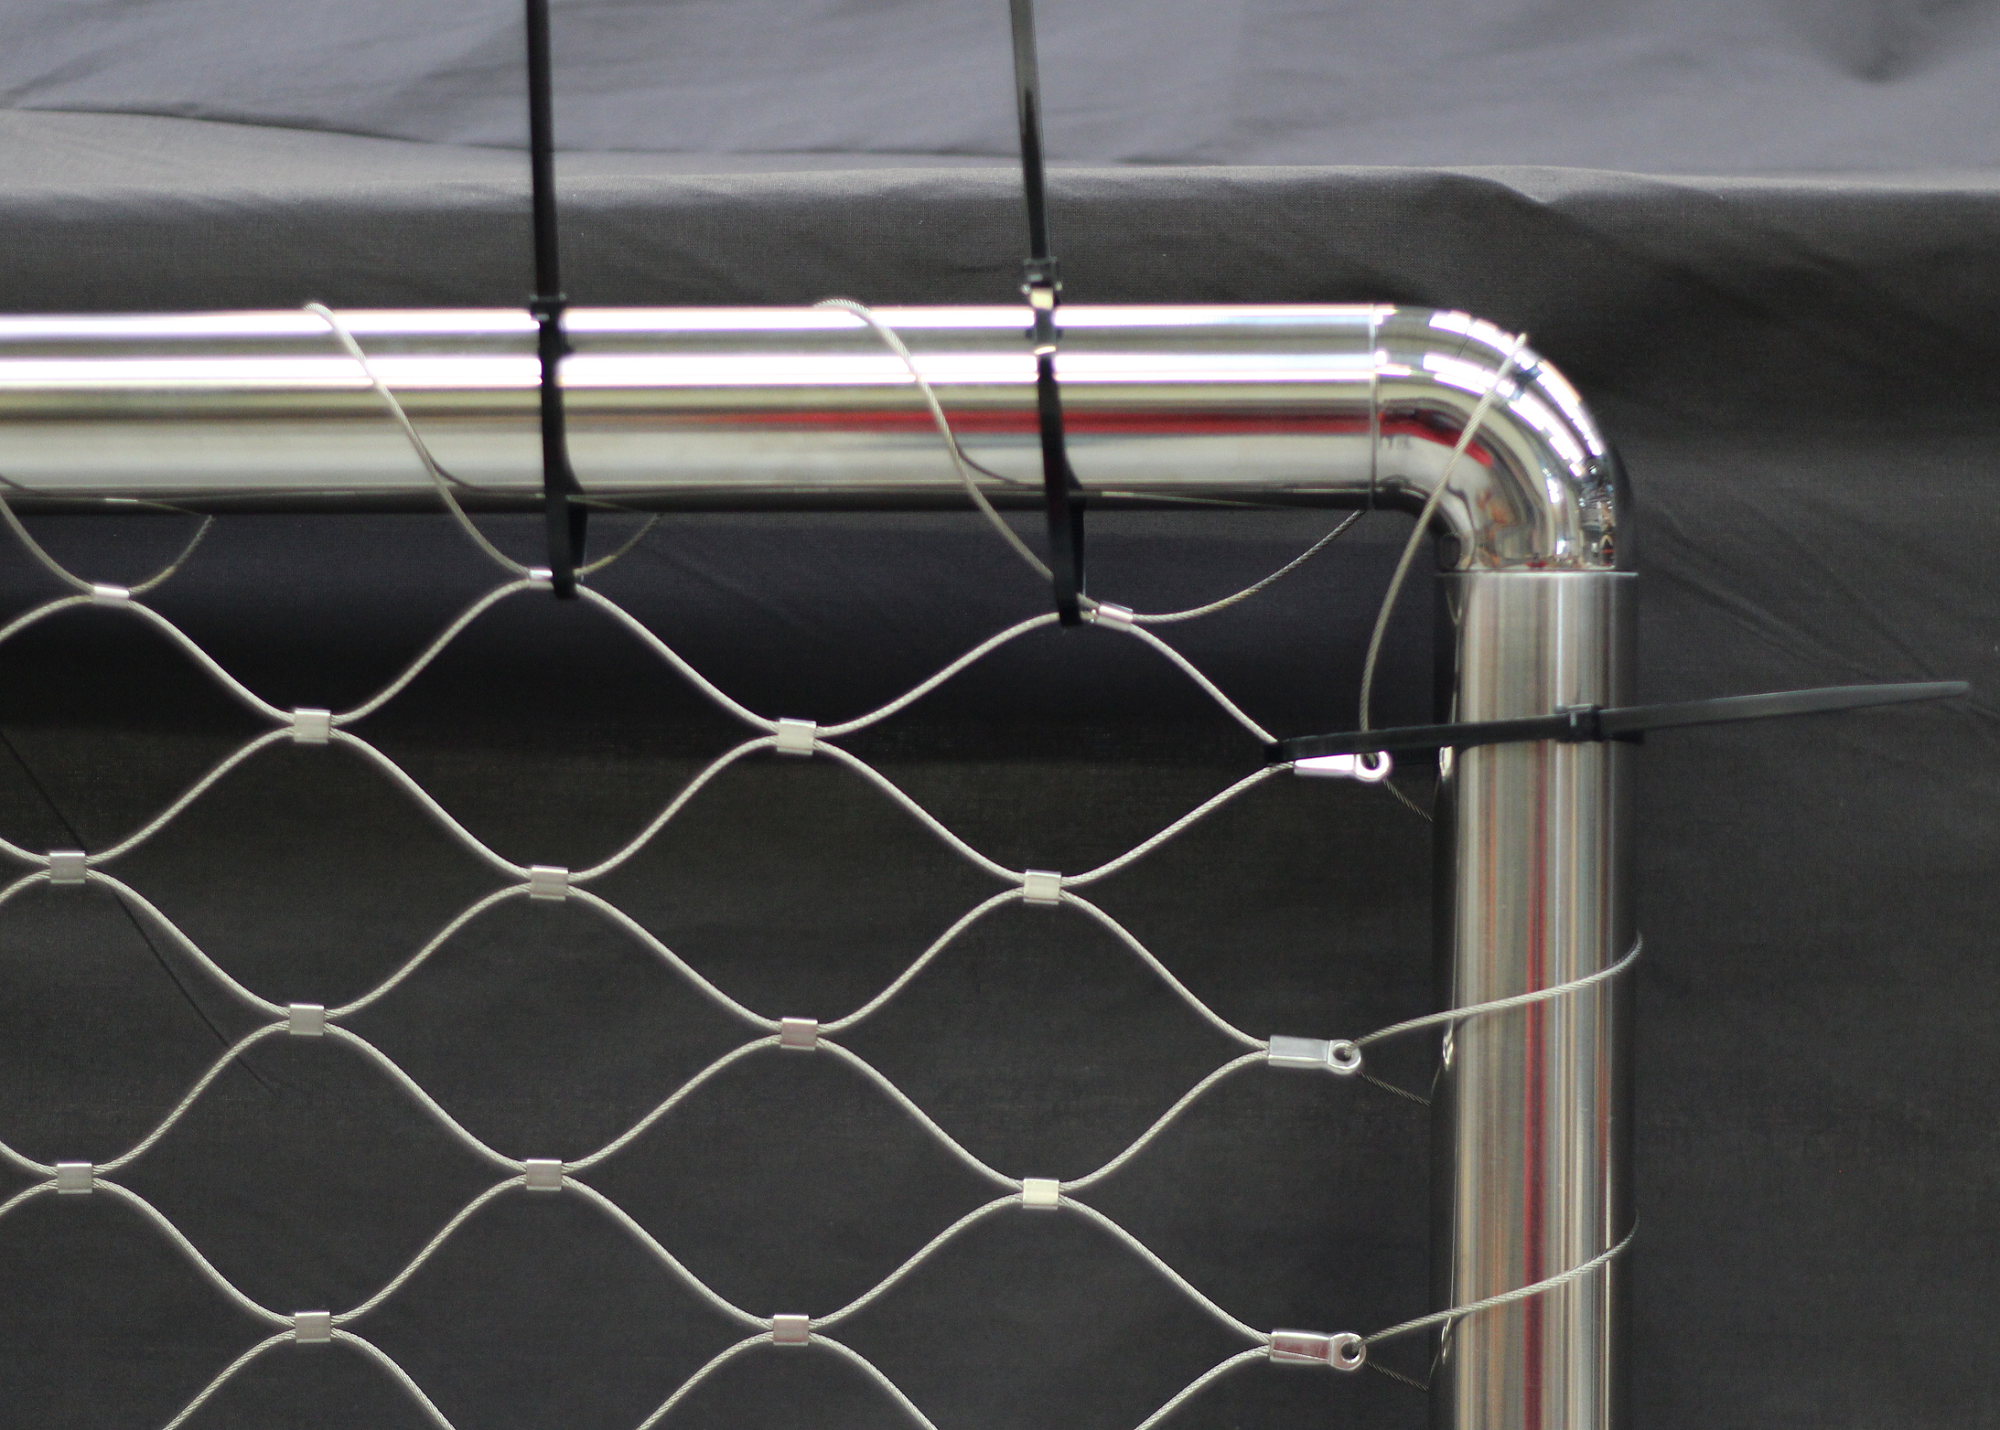
You can wrap the wire round the frame again before threading it through the first loop.
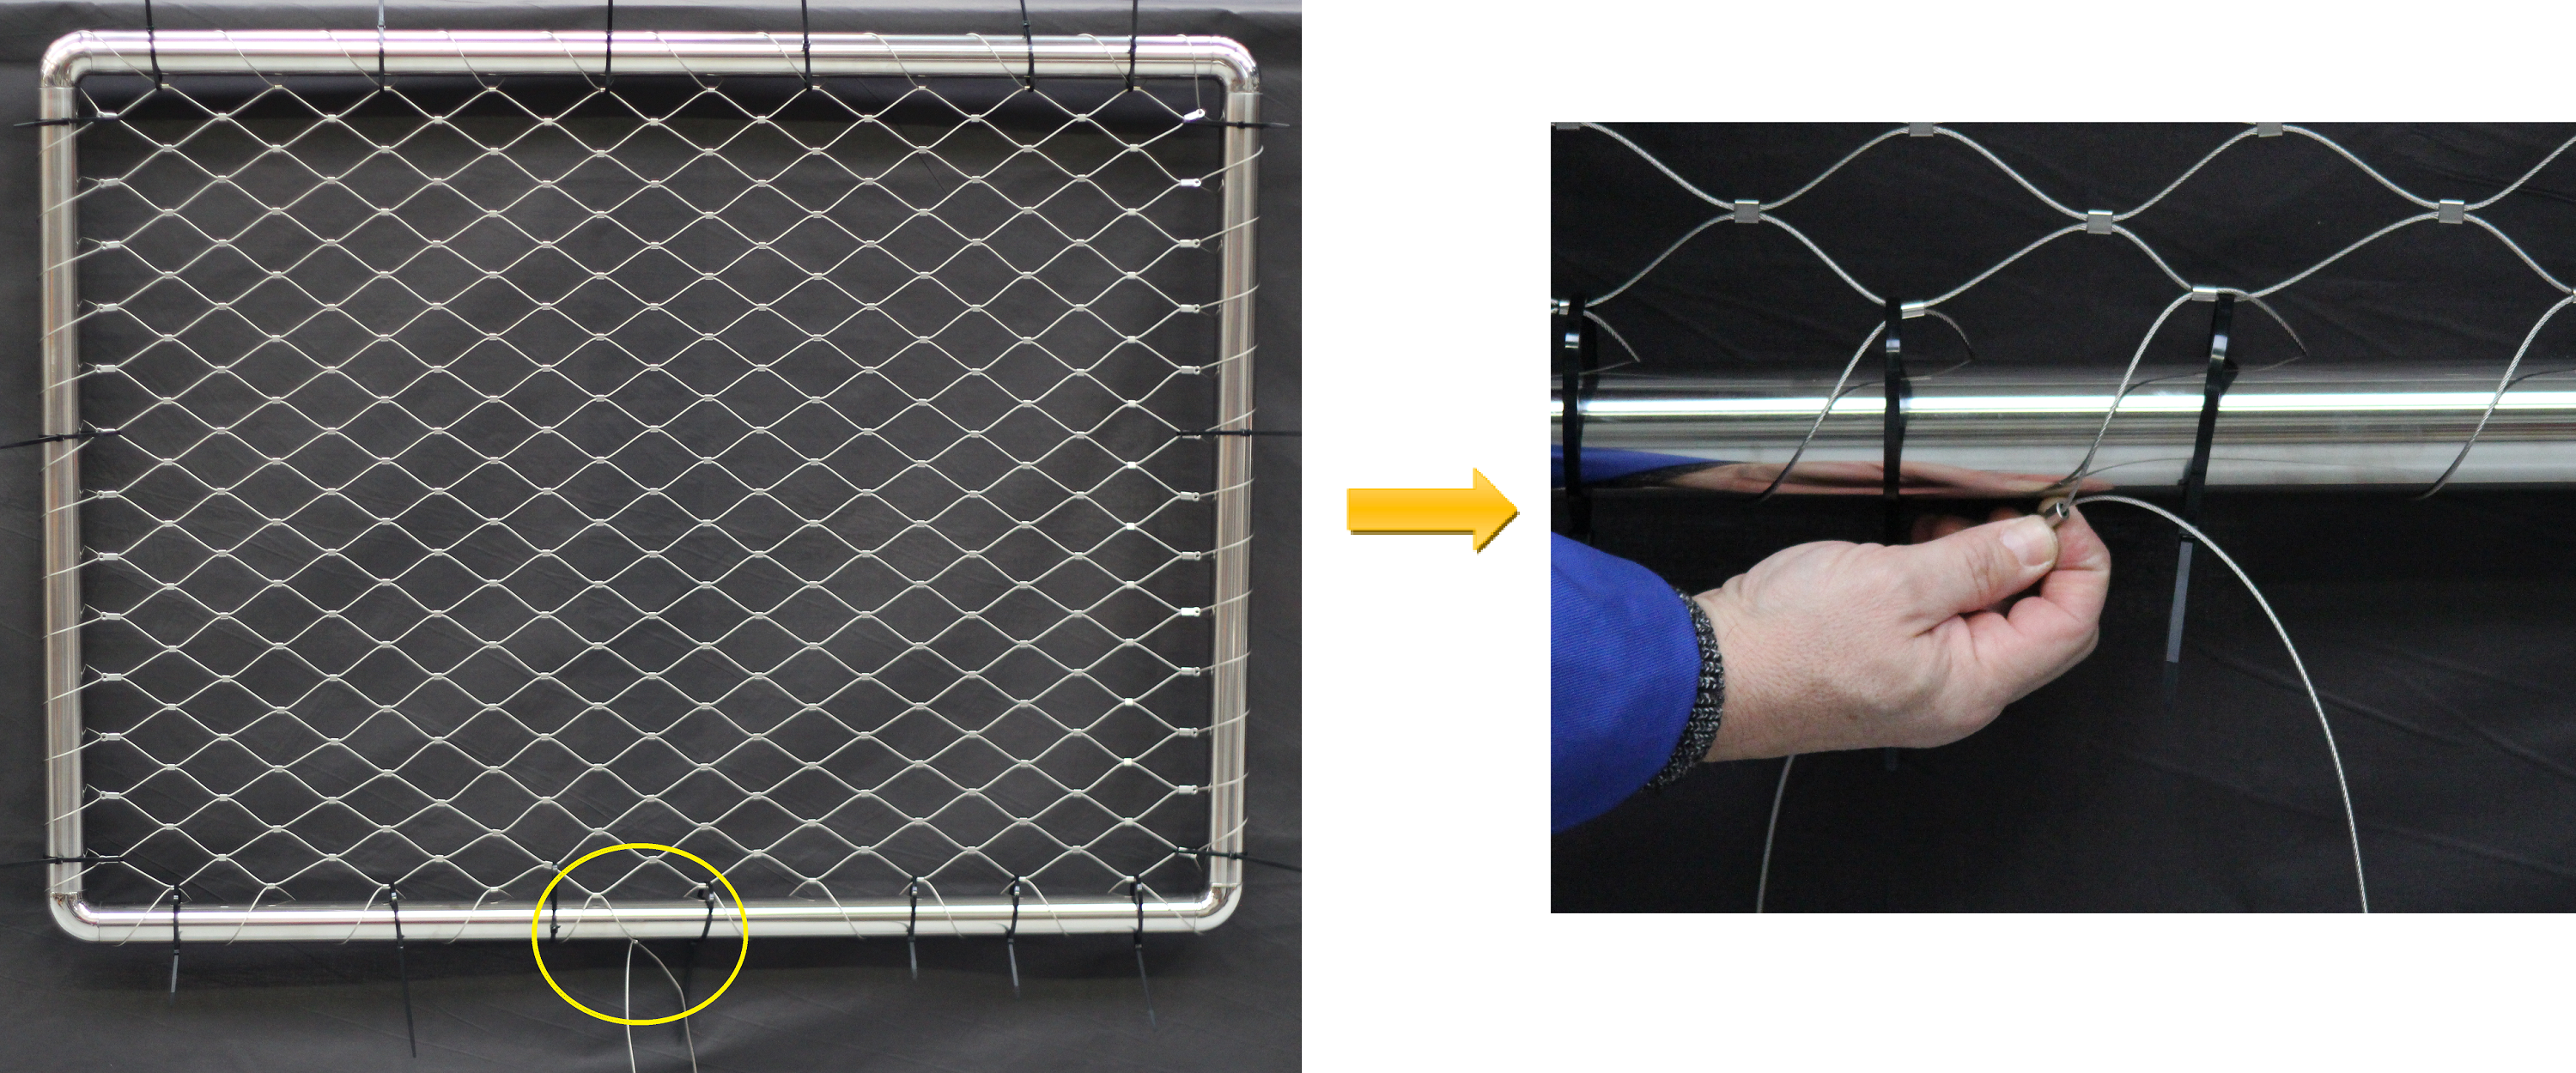
This threading operation takes time to complete. Therefore PATIENCE is needed.
Once you have completely threaded the wire round the frame, connect the 2 ends of the wire using 1 or 2 of the links provided, as follows:
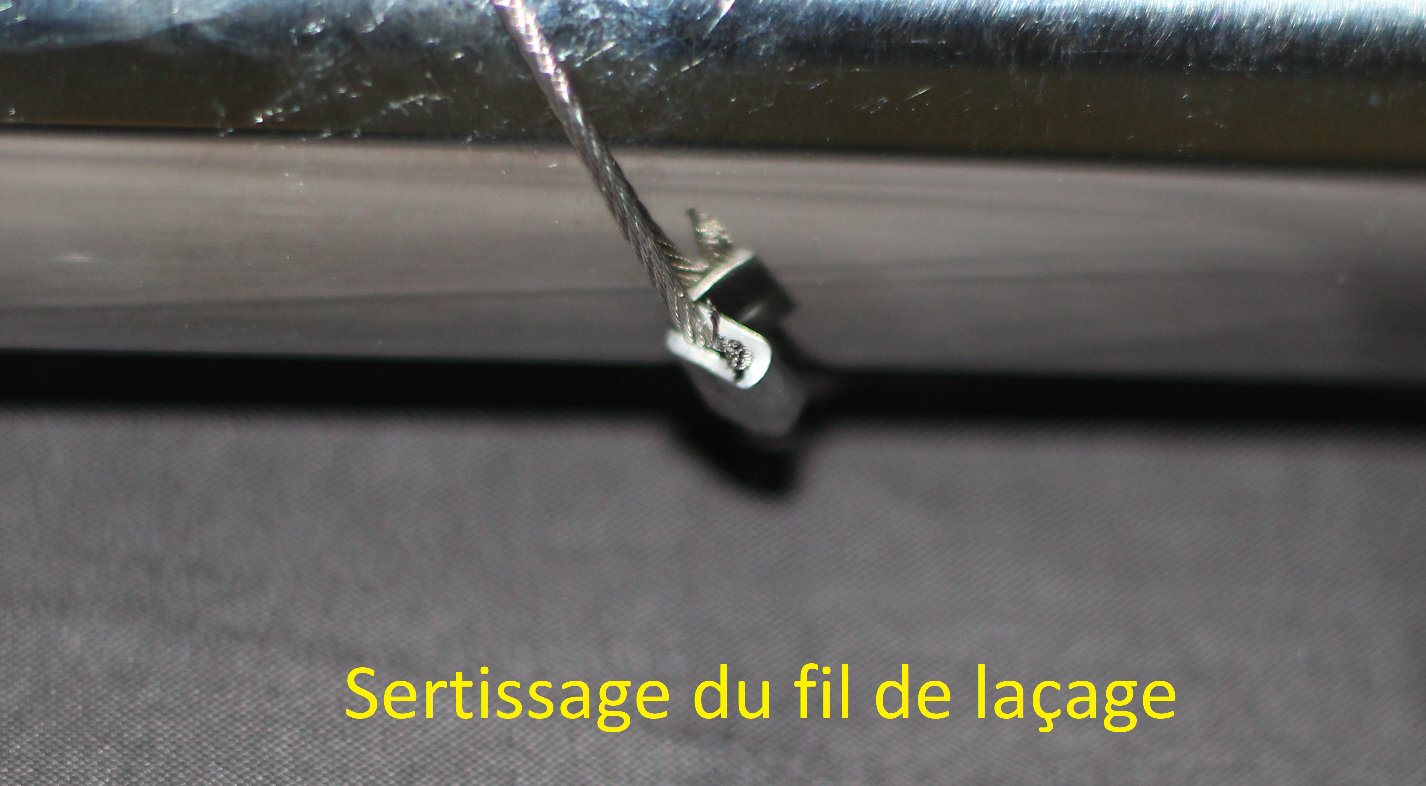
Crimp this link after checking that the netting is correctly tensioned.
(I need another person to help me with this task)
remove the RILSAN ties, crimp the loops in the corners (those made by the wire),
if the netting is very large (more than 1.5 m), crimp approximately 1 loop in every 10.
Your installation is complete.
A multitude of uses for this stainless steel netting: anti-fall protection, filling of railings, as a trellis for growing plants up walls, decoration, artistic effects...