The primary function of stainless steel nets is safety and protection. However, the elegance of this product has somewhat extended its applications:
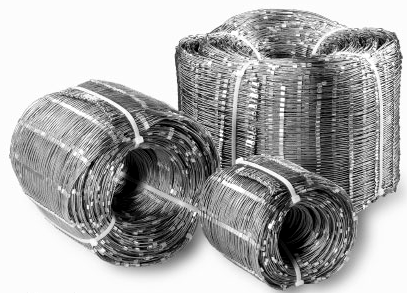
Our nets are EXCLUSIVELY made to measure, from marine grade stainless steel cables (Aisi316), and delivered "ready to install".
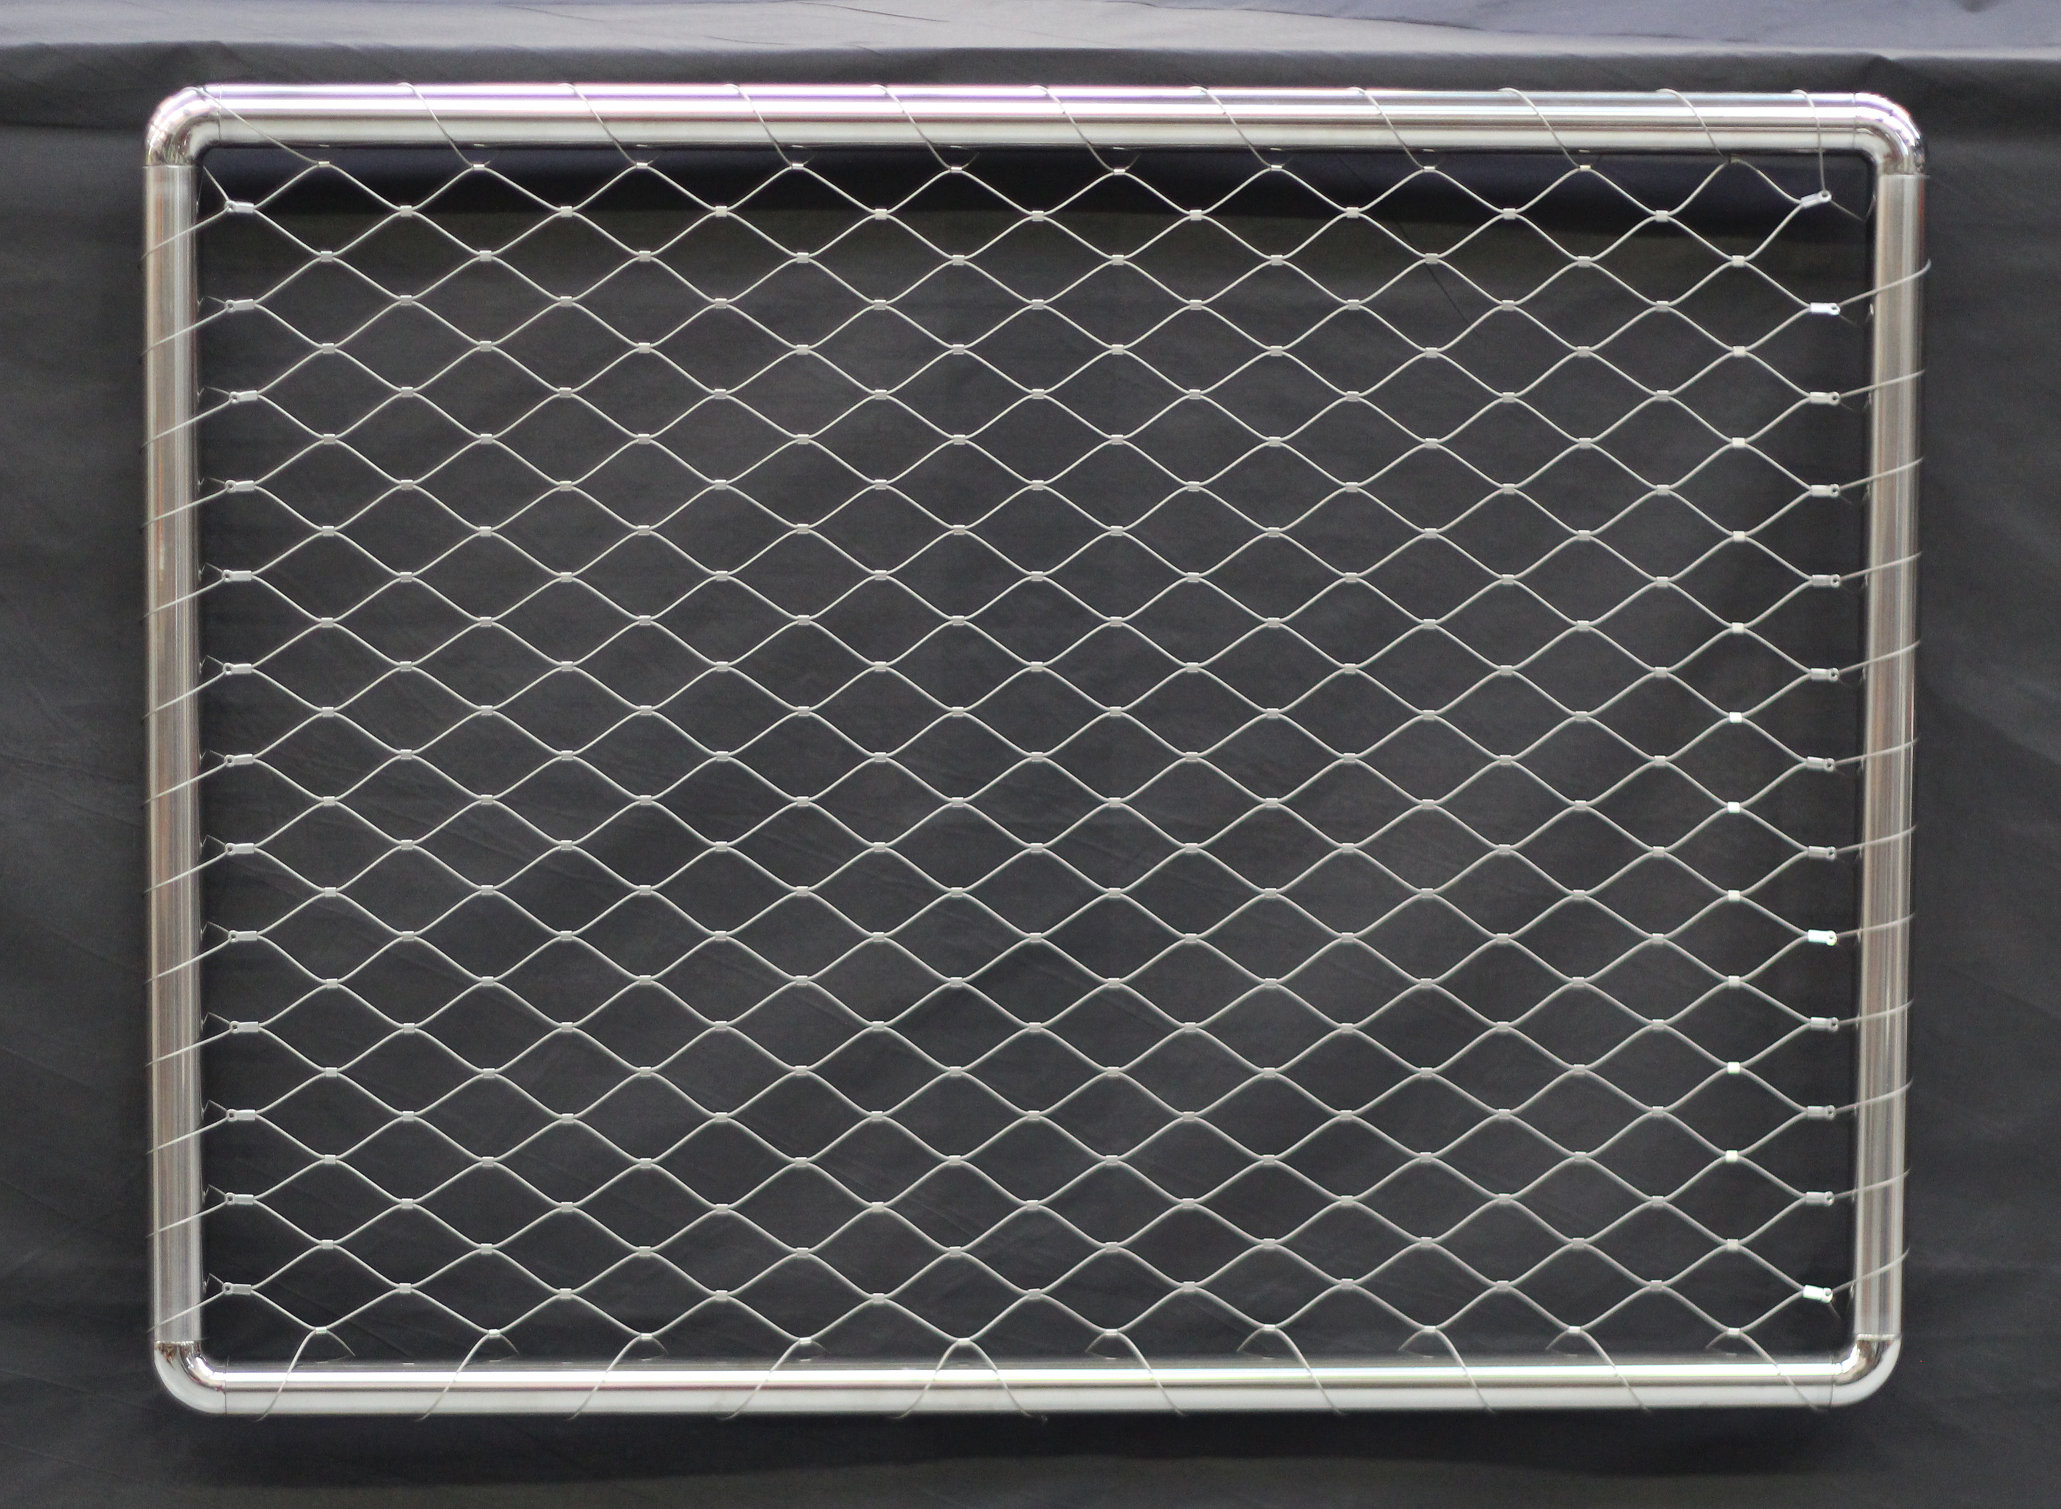
You can choose the diamond mesh size (W x H) and the wire diameter:
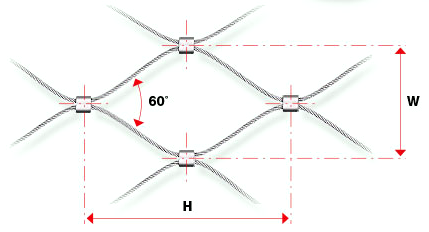
A crimped mesh opening angle must be 60° to obtain the best strength/weight/aesthetic ratio.
2 parameters must be taken into account:
- the wire diameter
- the mesh size
The mesh direction can be horizontal (standard, cheaper version) or vertical.
Installation is accessible to everyone: no particular skills, no complex tools needed, moreover, the visual effect is exceptional!
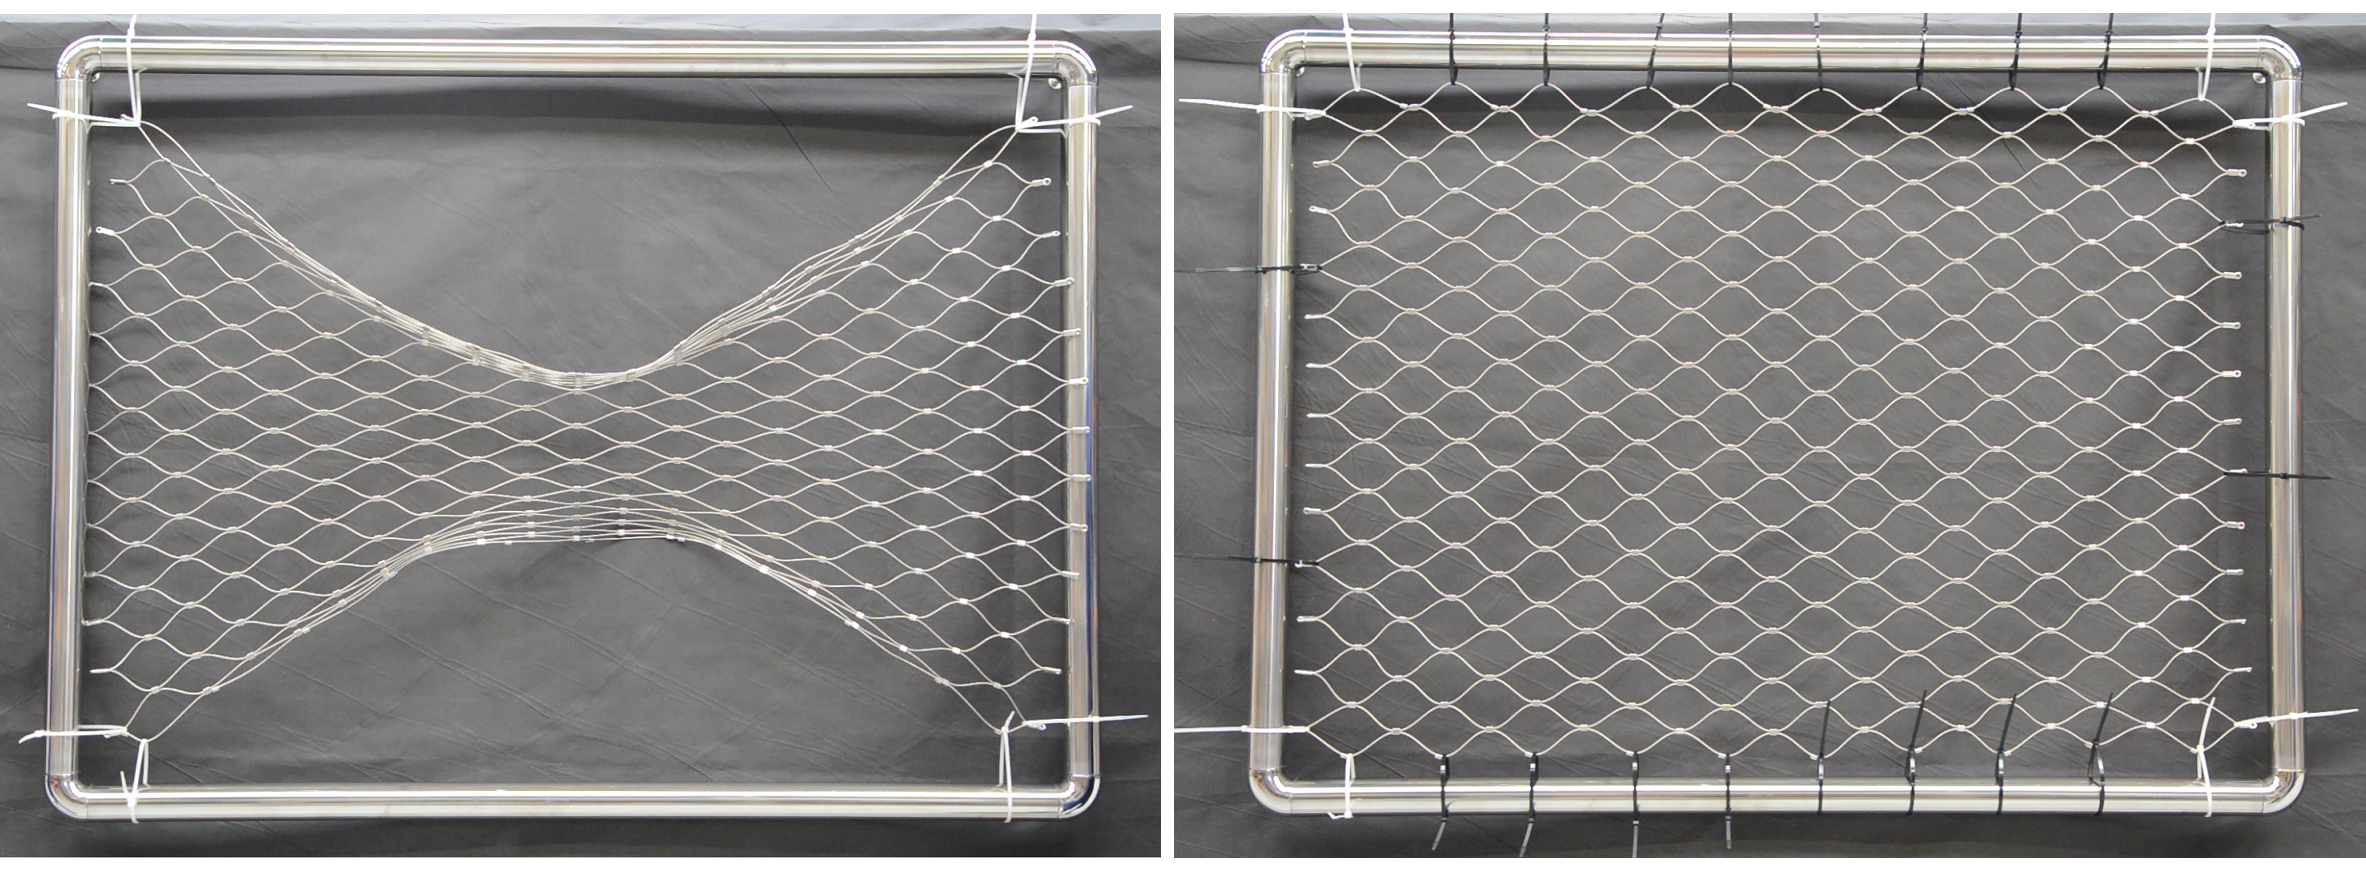
You MUST start with 2 collars in each corner, as shown in the photo, then take on the edges.
The RILSANs should be engaged first, but not tightened;
once your net is in the right position, you can gradually stretch the net.
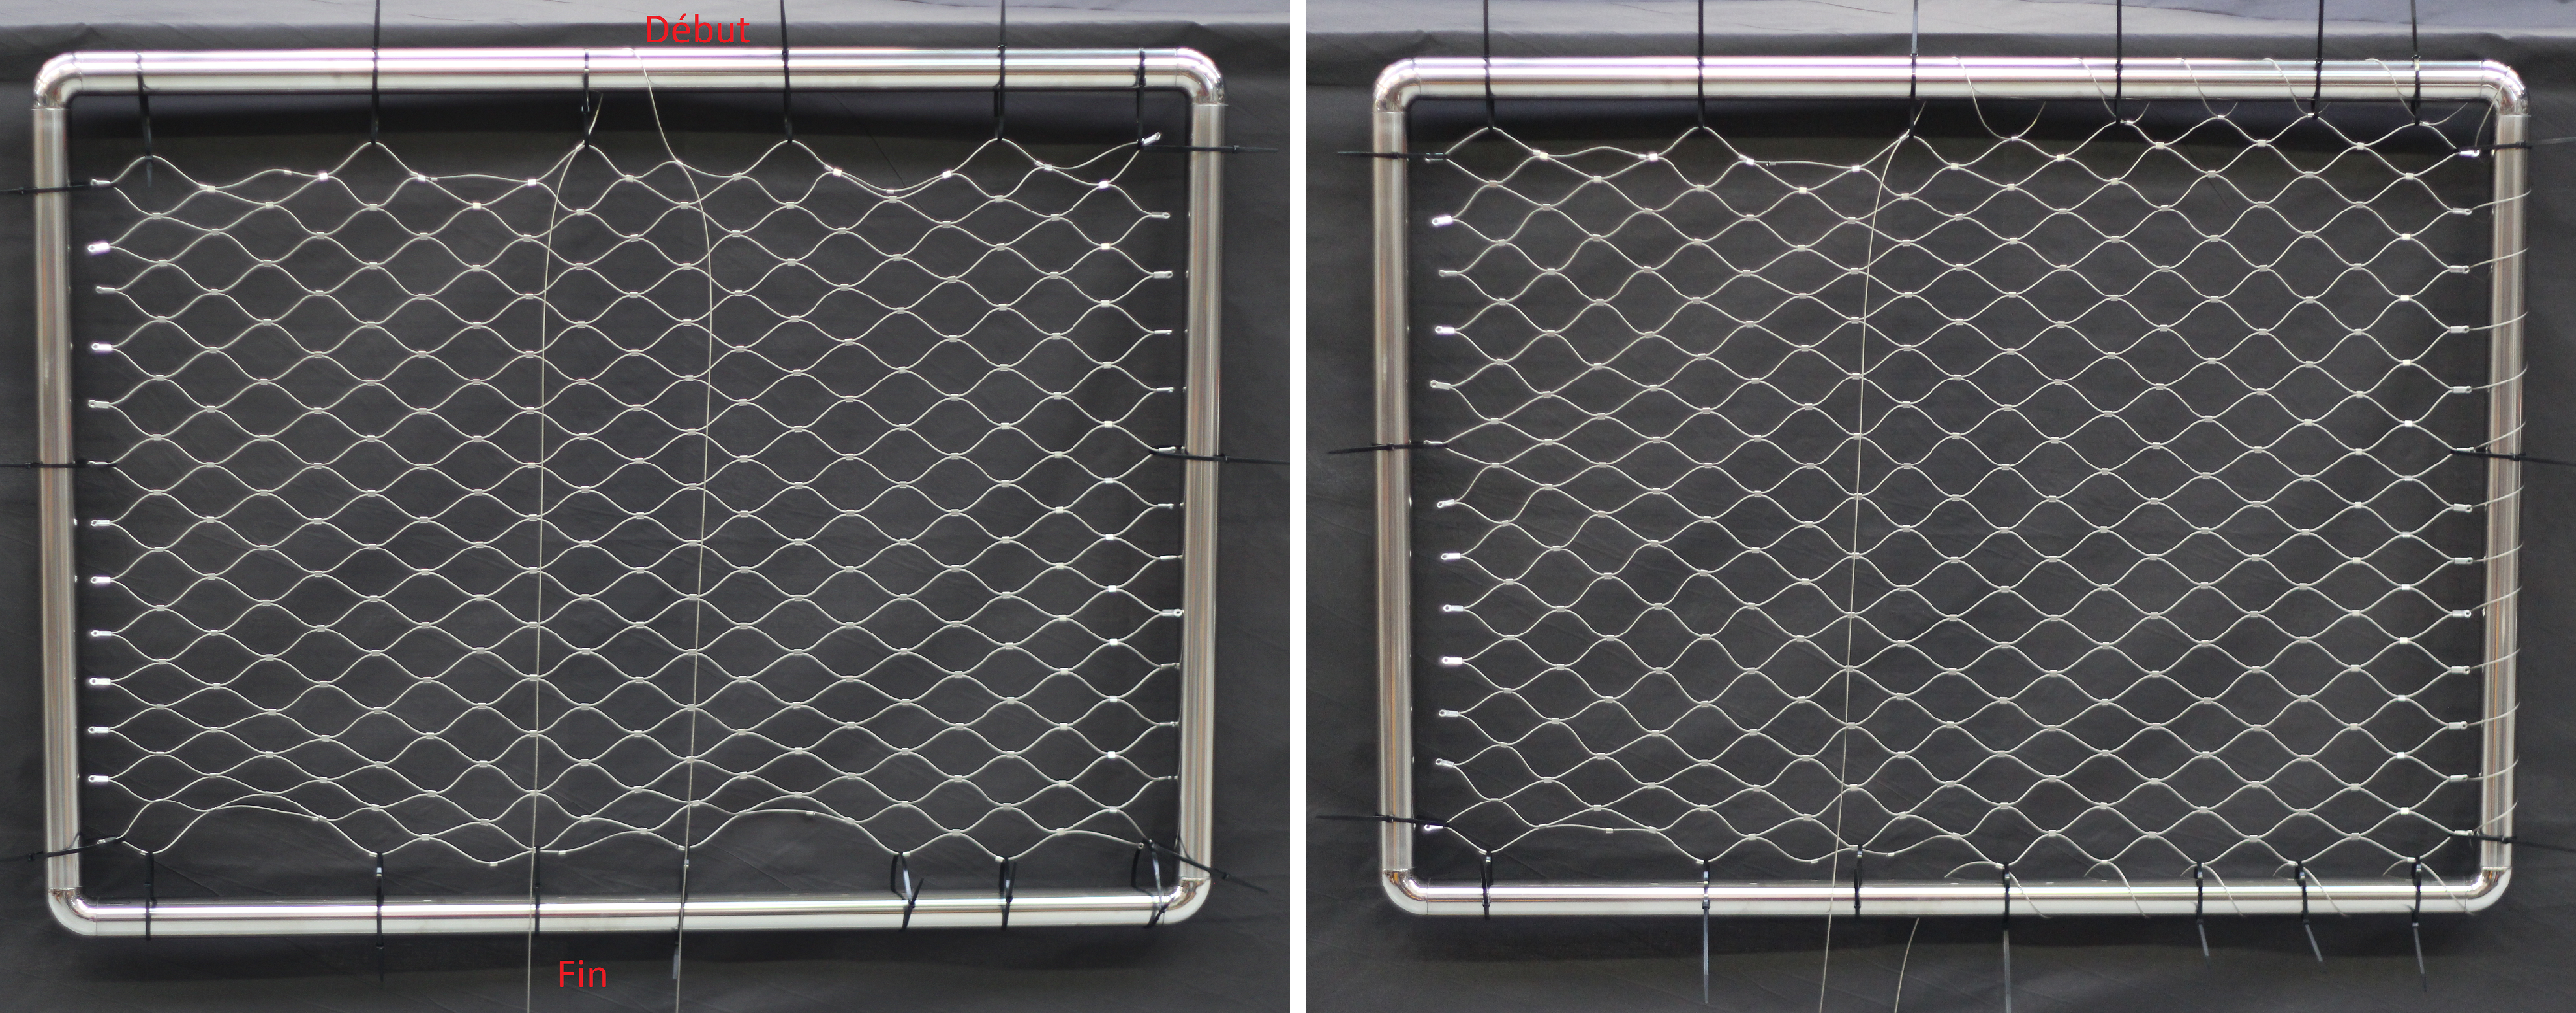
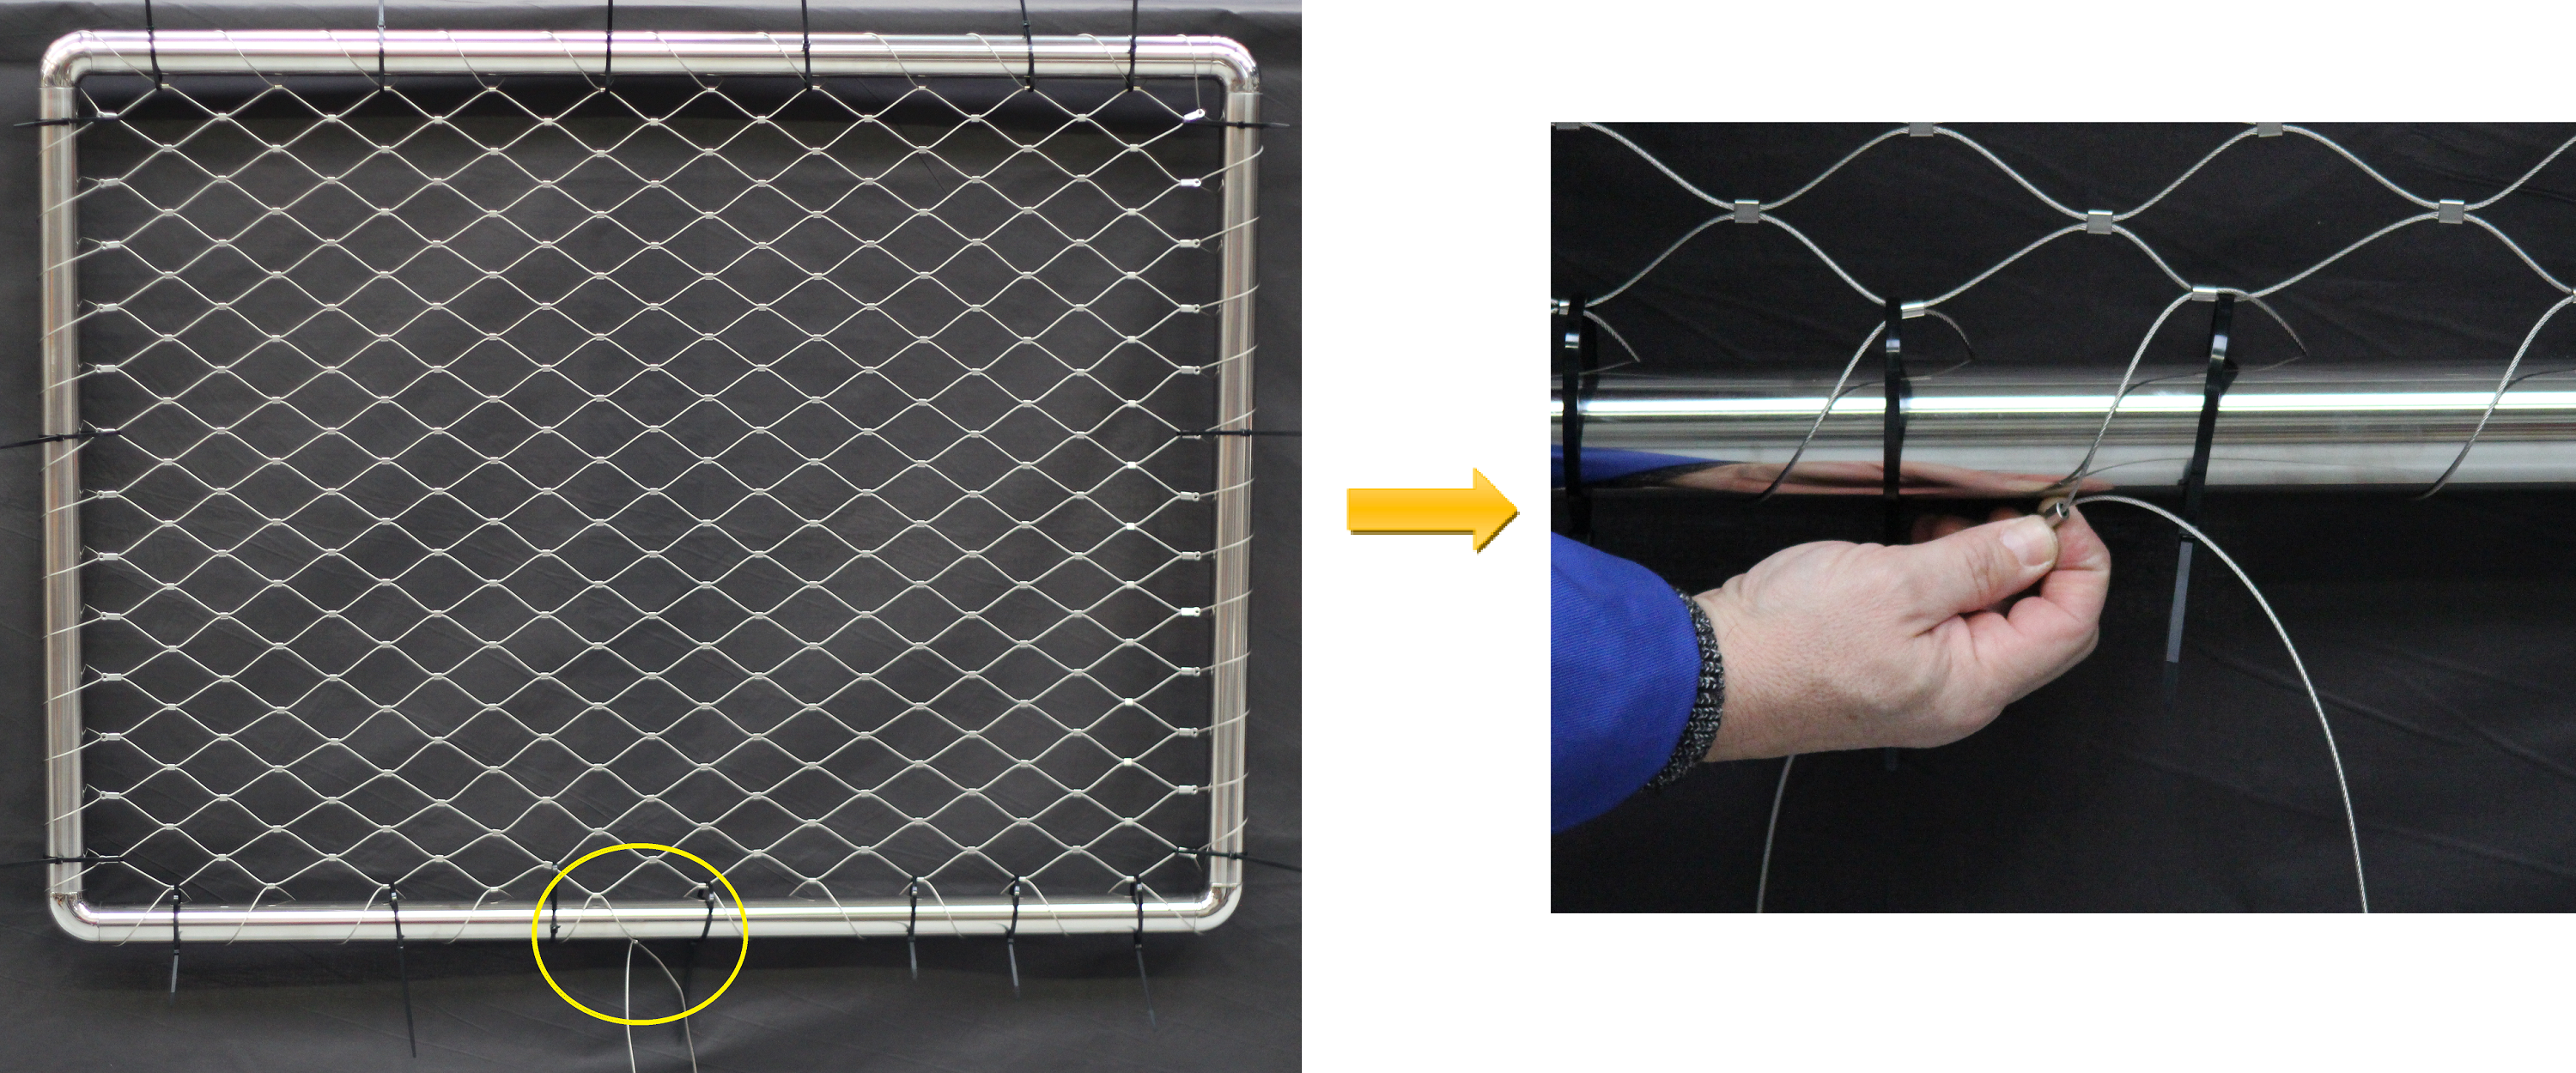
Start at the top centre of the net, then finish at the bottom (towards the centre of the net). The stitch is thread pitch shaped (go around the frame, then pass through the free eyelet, go around the frame, and so on...).Then stretch the stitching cable.
Detail of a corner passage:
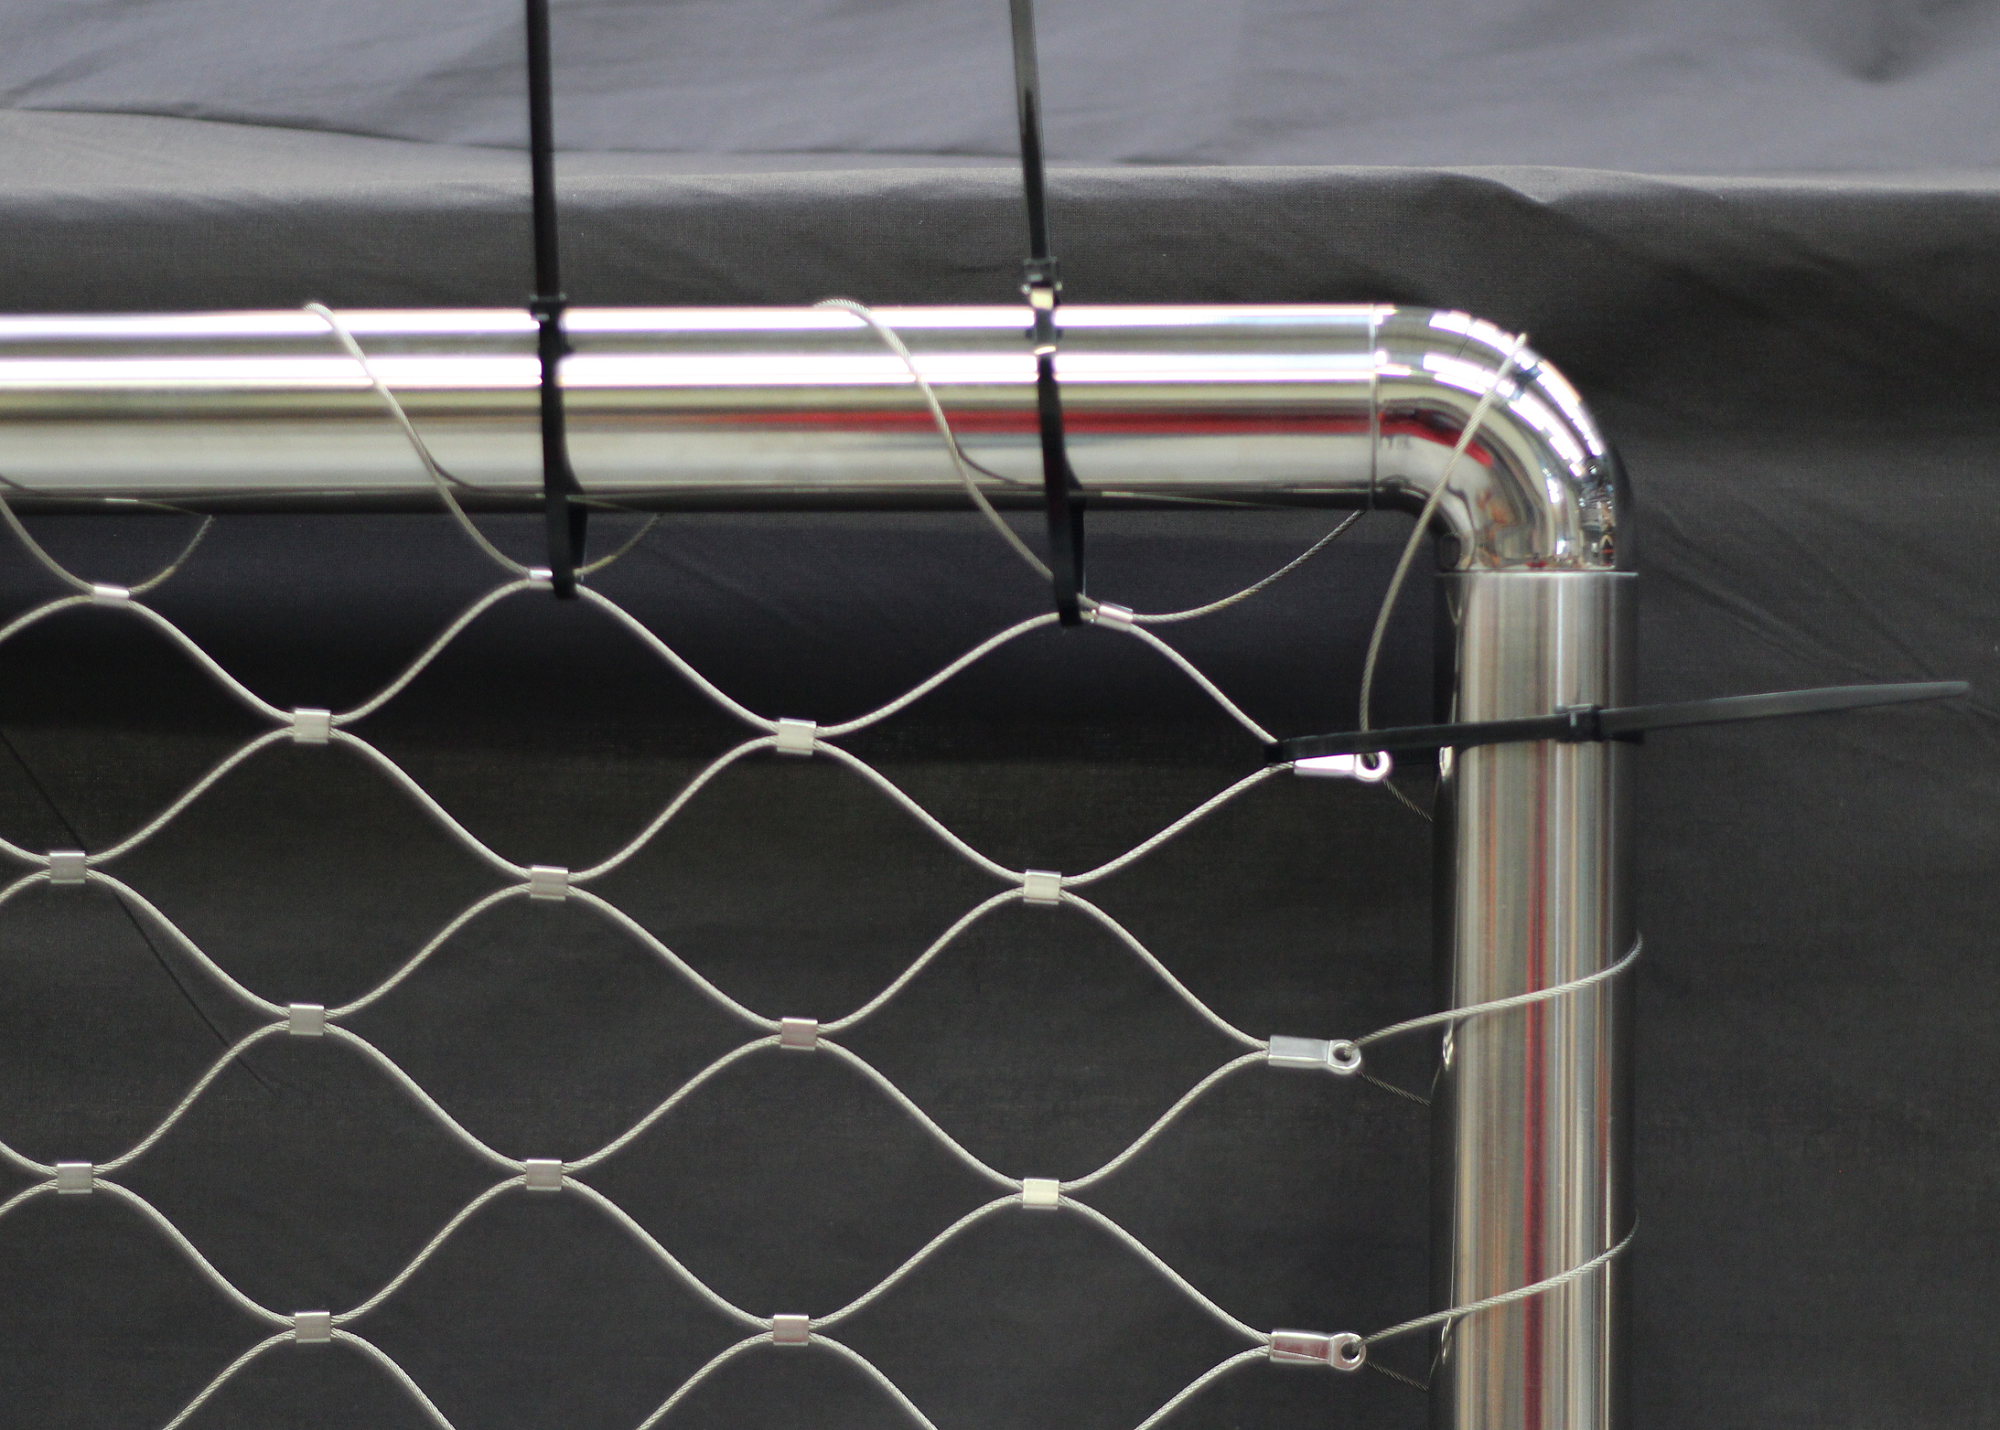
You can add a dead turn after passing the corner, before entering the 1st eyelet.
This lacing operation is the most time-consuming. So be PATIENT.
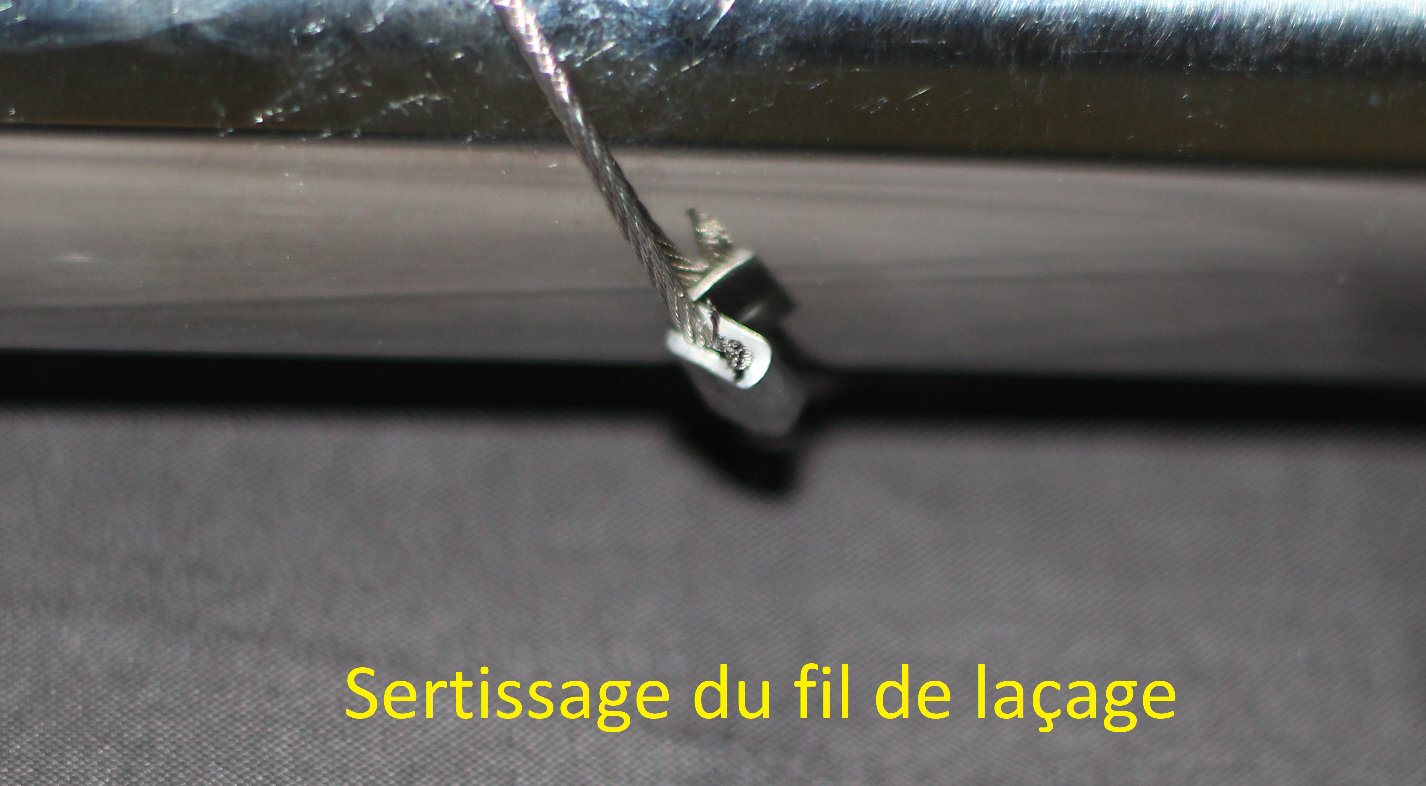
When the lacing is complete, connect the 2 lace ends using one (or 2) of the links provided, as follows:
Crimp this link by crushing it after checking that the net is properly stretched.
(get help for this operation)
Remove the RILSAN collars, crimp the floating eyelets in the corners (those of the stitching cable),
and if the net is very big (over 1.5m), crimp about 1 in 10 eyelets.
Your installation is complete.
There are multiple uses for these stainless steel nets: fall protection, guardrail filling, plant guides, decoration, artistic effects, ...